Introduction:
This is the second half of our race-car window tech tips, this is where Chris Isaacs shows us how he creates the windows for his and Spencer Tramm’s new Pro-Mod Duster.
(Stuff you’re going to need)
- Fine tipped permanent pen
- Your hardboard template you made earlier
- A rule (preferably a steel one)
- Hand Drill
- 3.2mm diameter & 4.2mm diameter drills
- A countersink tool
- Set of cleco clips & the pliers Cleco Clips
- A jigsaw (fine to medium tooth blade)
- A file
- Electrical or Masking tape
- Humbrol Acrylic spray paint, ref 85 (Satin Black)
- M4 stainless countersunk screws with matching washers and nylock nuts
Step 2; Creating your Margard Window
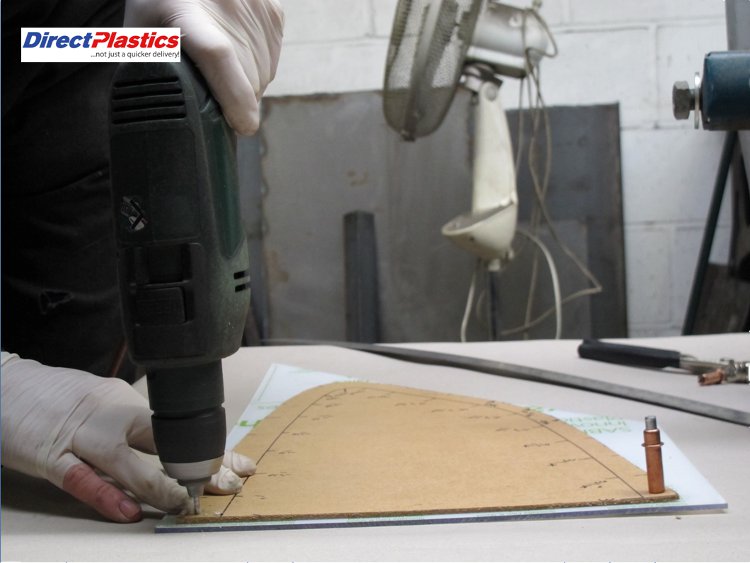
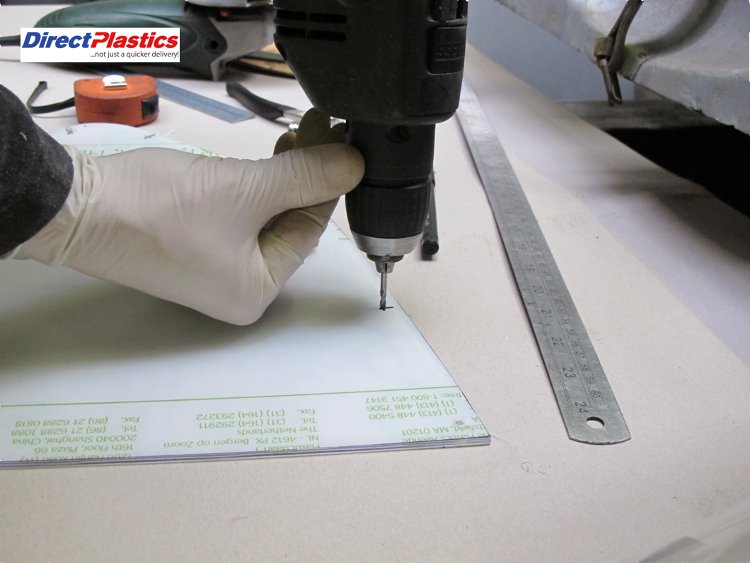
- Get a Lexan Margard panel and your hardboard template and drill your 2 pilot holes. (Use a pair of Cleco clips to ensure everything stays in place)
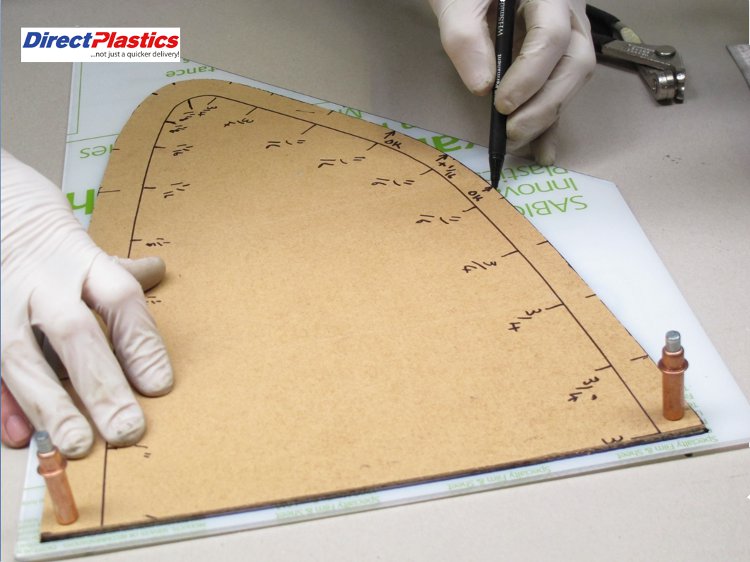
- Draw around the hardboard template onto the Lexan panel
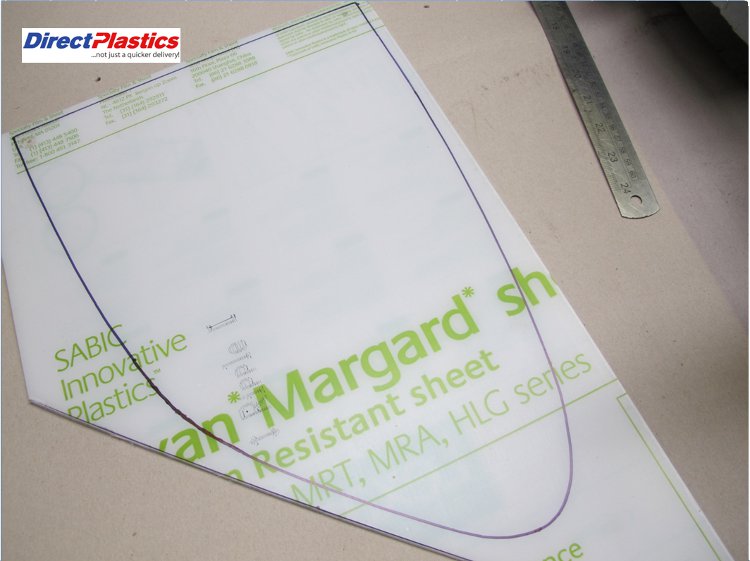
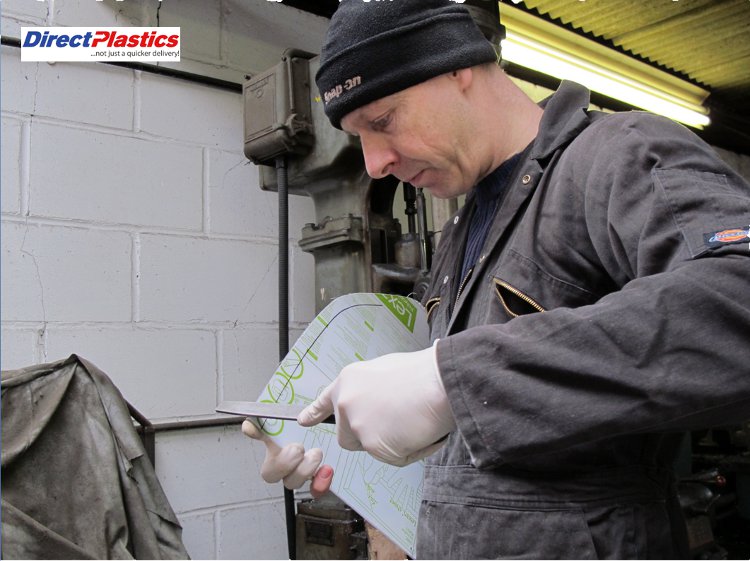
- Remove the template and carefully jig-saw or band-saw the window shape out, (use a fine to medium blade)
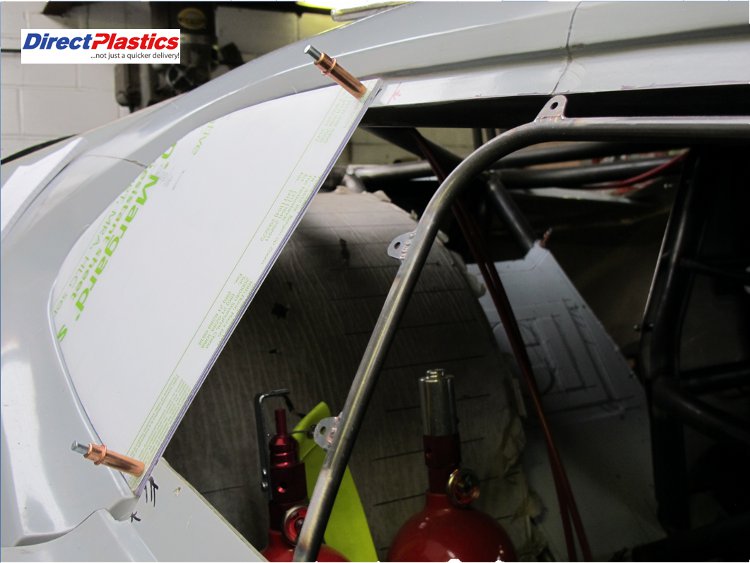
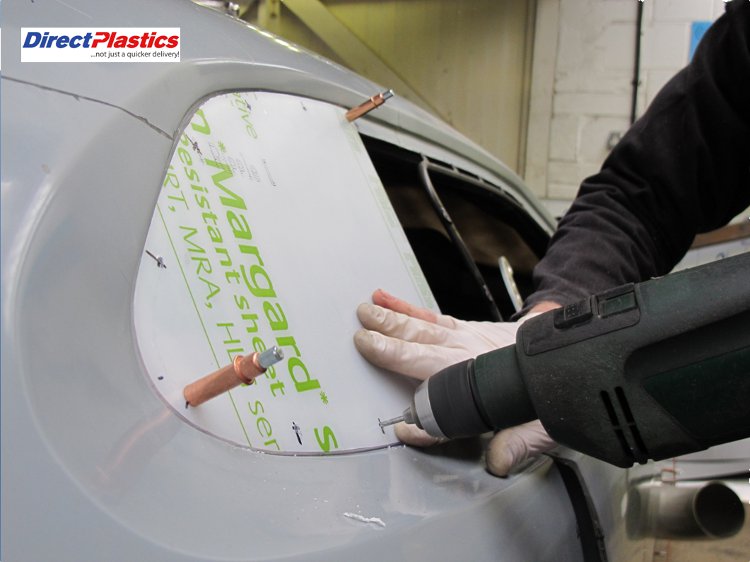
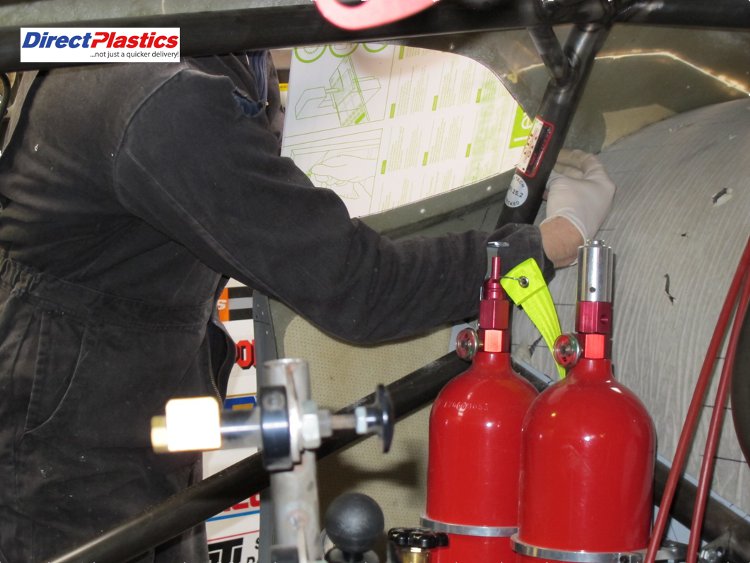
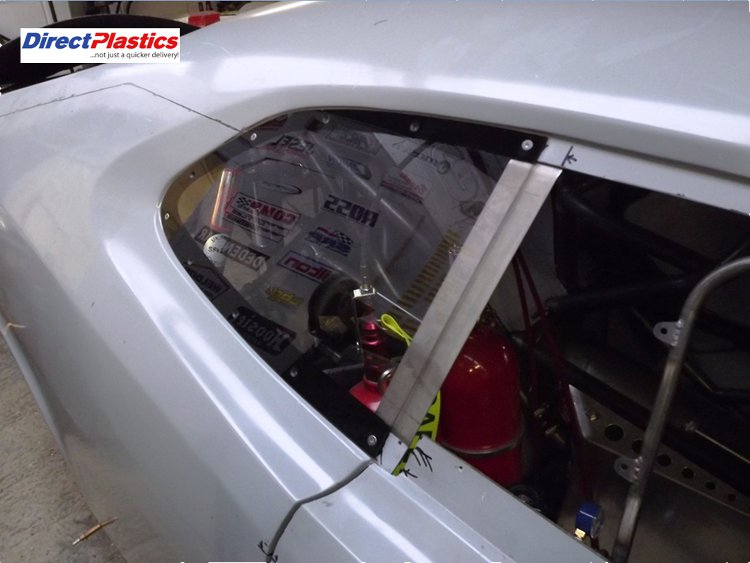
- Once the window shape is cut-out, go to the car and trial fit the window using the 2 pilot holes and cleco clips
- Check for how the window fits and mark for where adjustments need to be made
- Gently file or bench sand the “adjustments”
- Keep Repeating the process until the window is a perfect fit
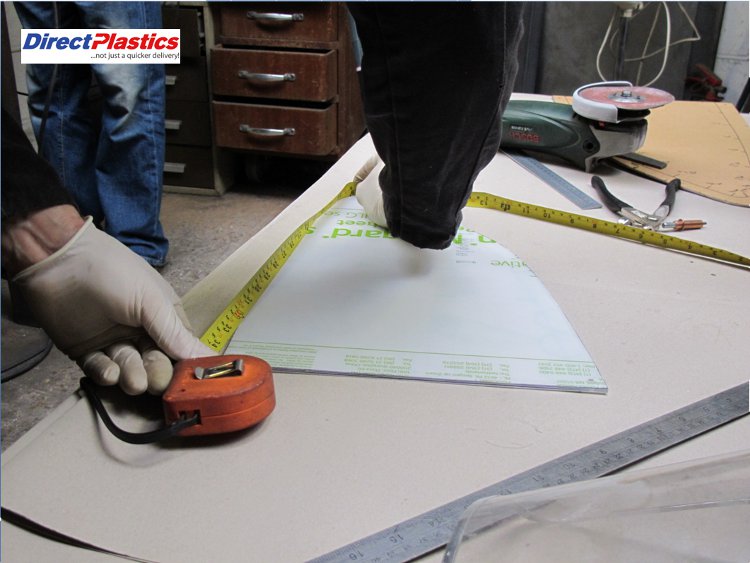
- Once that’s done, remove from the car and measure around the circumference of the window with a tape measure
- Based on his measurement decide on hole spacing (Chris recommends around 80mm to 100mm will look fine)
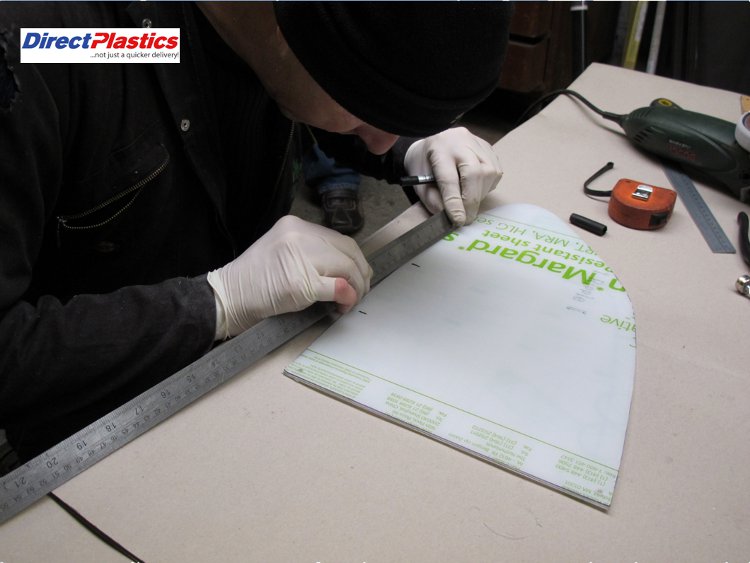
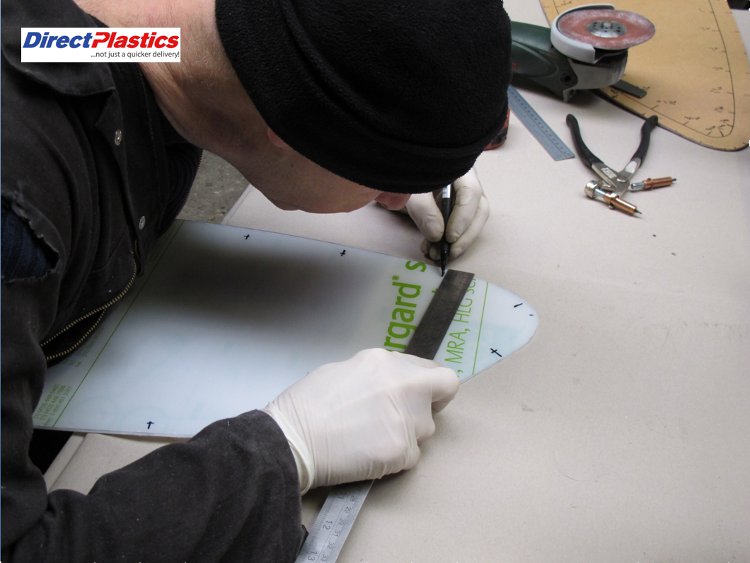
- Mark your hole spacing (hole spacing may need to a bit closer together in the corners)
- Mark in from edge now to get the hole centres (Chris chooses 10mm but check the window return of your particular car before making decision)
- Drill all your holes first at 3.2 diameter
- Fit the window to the car and drill through a few more holes at 3.2mm dia and fit a few more cleco’s (makes sure everything stays perfectly aligned)
- Get your 4.2mm dia drill and carefully open out your holes (make sure everything still stays aligned)
- Once that’s all done, take the window off the car
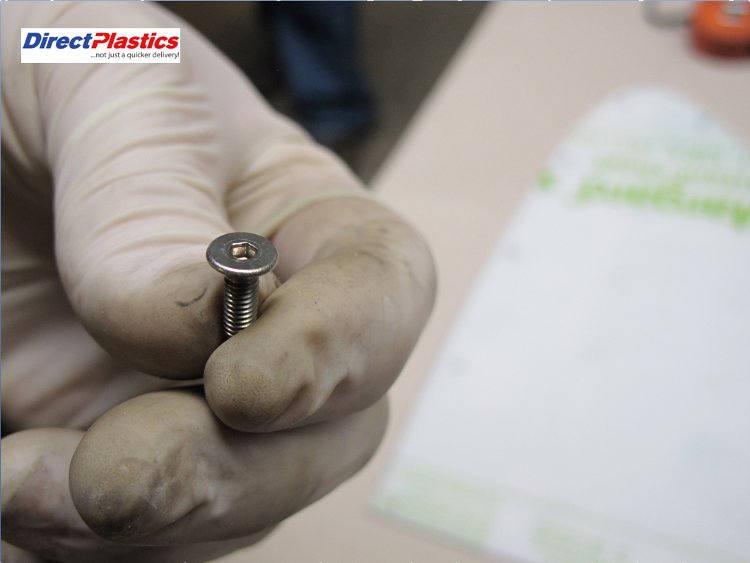
- Grab one of your screws (Chris is using stainless 4mm dia c/sunk x 12mm long)
- Counter-sink your holes (check you’re c/sinking the outside of the window)
- Use the head of your c/sink screw to determine the right depth
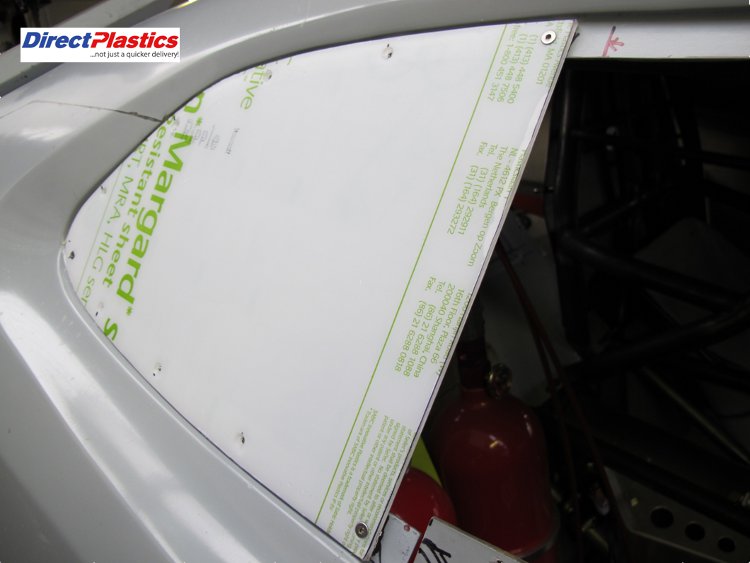
- Trial fit the window back on the car with a few screws to see how things are looking
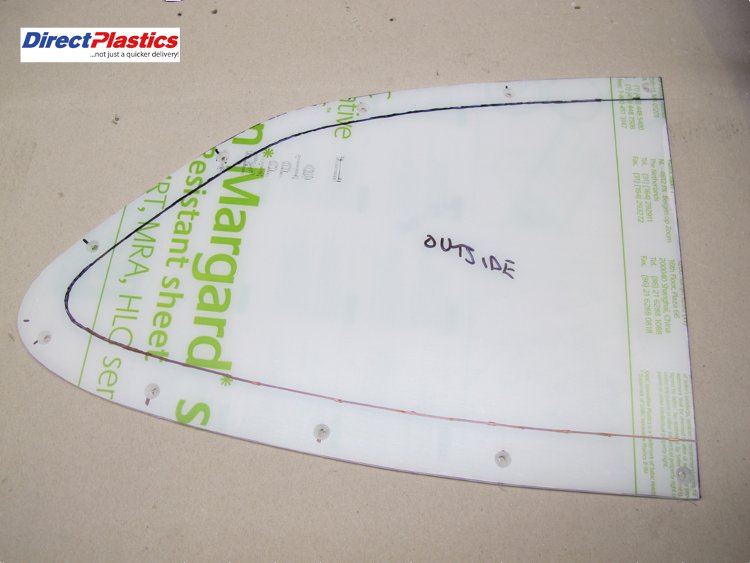
- Mark the window aperture onto the Margard from the inside of the car
- Remove the window and lay it on a bench so the outside facing you
- Because the film is translucent, you can see “aperture” line through the film
- Use your pen to trace this line through to the outside face of the window film
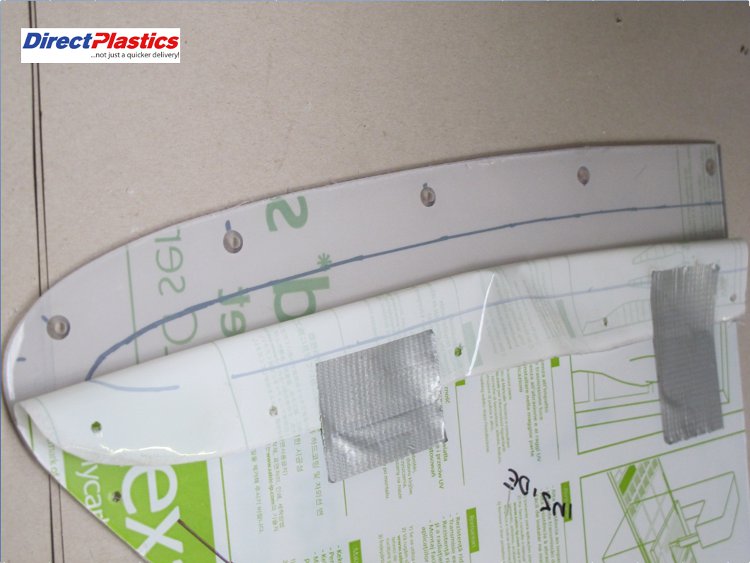
- Turn the window back over so that the inside is facing you and Peal back the edge of the film
- The line that you just ‘traced’ is easily visible through the film
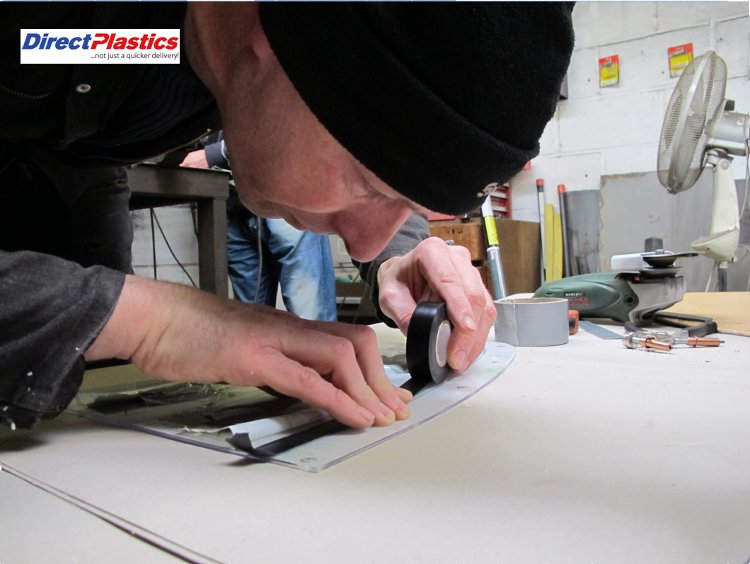
- Carefully mask up approx 1mm shy of the line (once sprayed, you dont want to see any of the window aperture)
- Remove any burrs or sharp edges
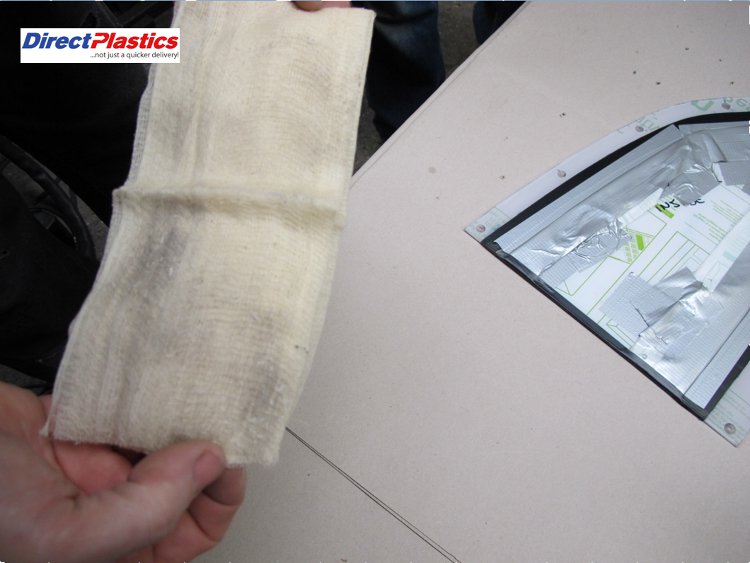
- Clean the exposed sheet carefully and also the area around where you are spraying (avoid chemicals)
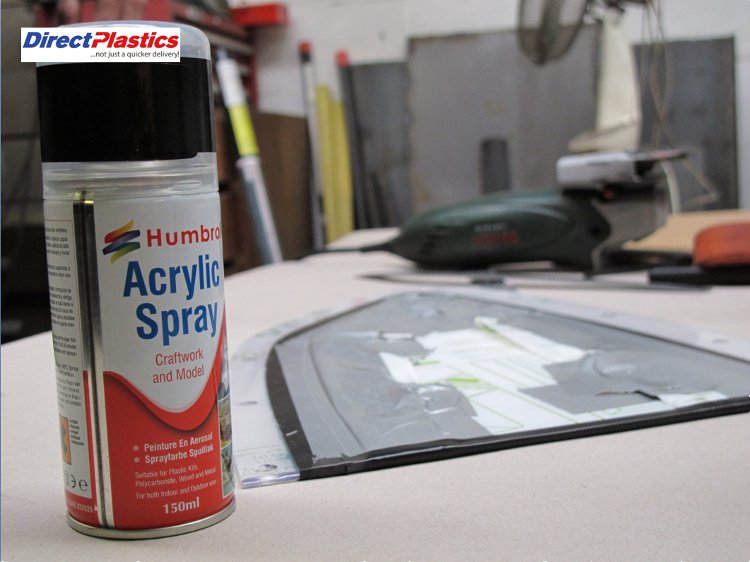
- Once masked, get some satin black acrylic spray paint (Chris recommends Humbrol black ref no 85)
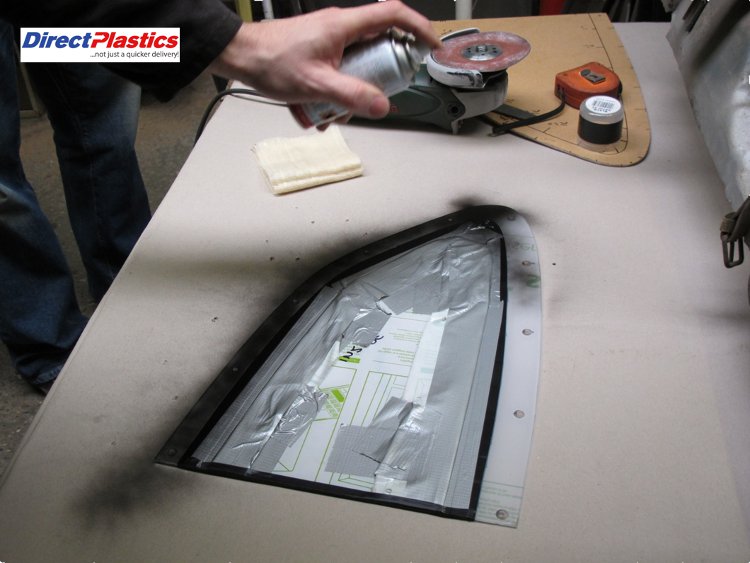
- Spray a light first coat around the edge of the masked area and allow to dry
- Apply 2 more coats and ensure they also dry properly
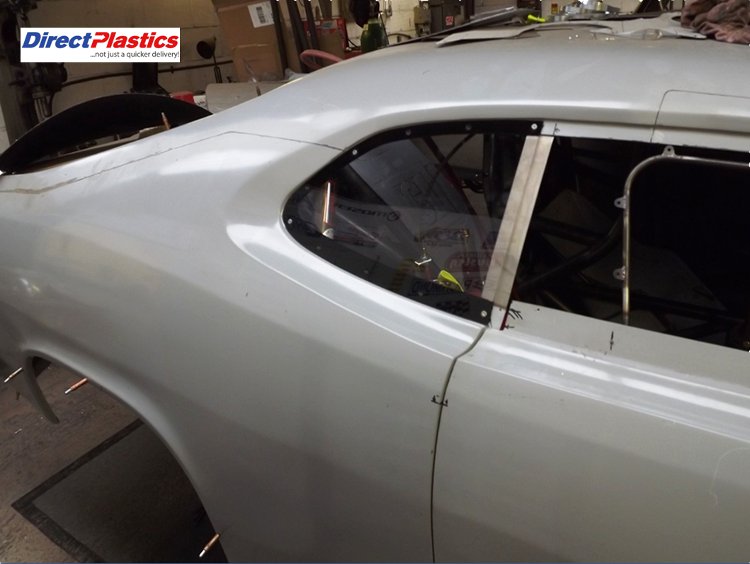
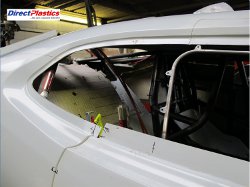
- Window completed, once fitted to the car, Chris will then apply a very small bead of silicone around the edge of the window
Supplemental for steel bodied cars
Chris suggested that for most steel bodied cars, the window reveal, where the window rubbers would fit is much deeper, to compensate for this;
- You could use a dense foam tape similar to “Arbo tape” at the right width and thickness for your car (available from glazers)
- When fitting the window be careful not to over-tighten the screws to avoid distorting the surface of the plastic.
- Longer screws would obviously also be needed.
- He also suggested that when drilling in from the edge for the screws, look at the return on the window aperture for your particular application